


5 Step-by-step guide to rice production
5 Step-by-step guide to rice production
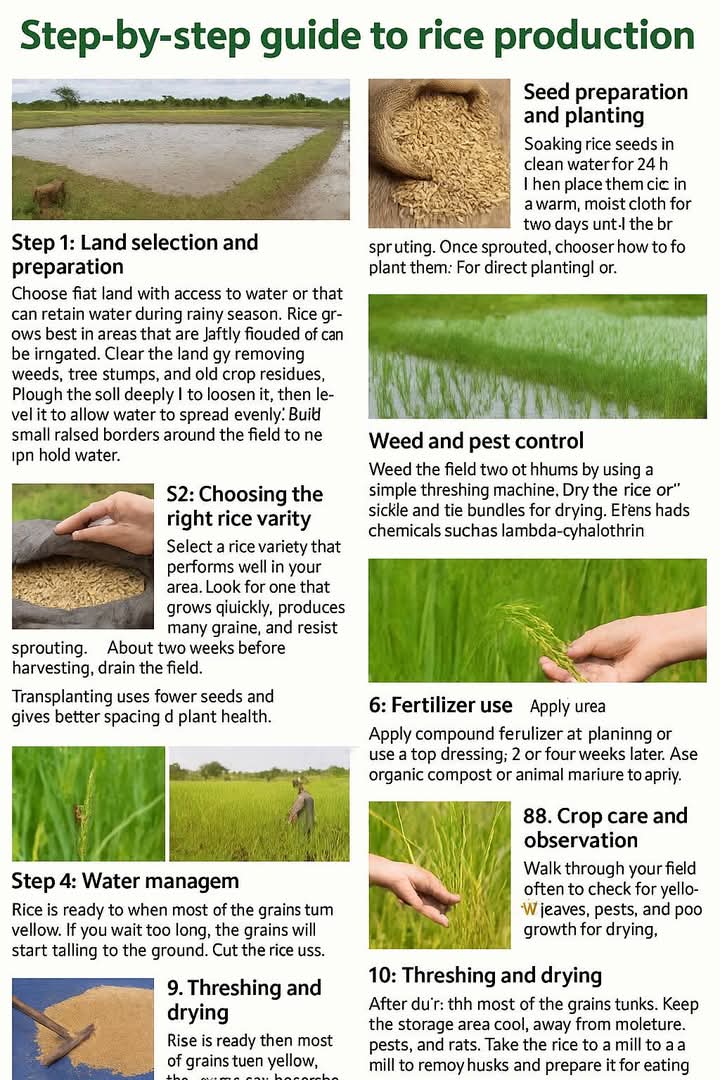
Step 1: Land selection and preparation
Choose flat land with access to water or that can retain water during the rainy season. Rice grows best in areas that are slightly flooded or can be irrigated. Clear the land by removing weeds, tree stumps, and old crop residues. Plough the soil deeply to loosen it, then level it to allow water to spread evenly. Build small raised borders around the field to help hold water.
Step 2: Choosing the right rice variety
Select a rice variety that performs well in your area. Look for one that grows quickly, produces many grains, and resists common pests and diseases. In Zambia and other parts of Africa, varieties like IR841, Nerica, Kazungula, and NamChe 5 are commonly used. Always buy certified seeds from trusted suppliers to ensure quality and good yields.
Step 3: Seed preparation and planting
Start by soaking the rice seeds in clean water for 24 hours. After soaking, drain the water and place the seeds in a warm, moist cloth for two days until they begin to sprout. Once sprouted, choose how to plant them:
* For direct planting, scatter the sprouted seeds evenly on the prepared field.
* For transplanting, grow the seeds in a small nursery bed, then after 2 to 3 weeks, move the young plants to the main field.
Transplanting uses fewer seeds and gives better spacing and plant health.
Step 4: Water management
Rice needs regular water. Keep a shallow level of water, around 5 to 10 centimeters, on the field during growth. Make sure the water doesn’t flood the plants or drain away completely. About two weeks before harvesting, drain the field to let the rice grains mature and dry naturally.
Step 5: Weed and pest control
Weed the field two or three times during the growing season. You can weed by hand, use hoes, or apply herbicides if you are trained. Watch for pests