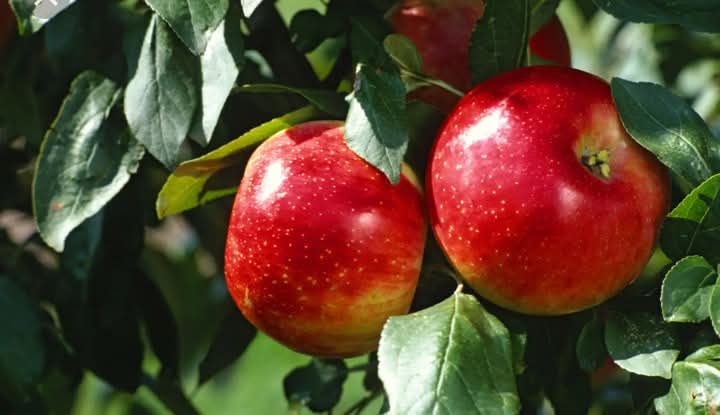
Growing Apple Saplings from Scraps: A Cost-Free Journey in 10 Days.
Growing Apple Saplings from Scraps: A Cost-Free Journey in 10 Days.
Day 1: Gather Your Materials
Apple seeds from your favorite apple
Paper towels
Plastic ziplock bags
Small pots with drainage holes
Potting soil
A sunny windowsill or grow light
Day 2: Prepare the Seeds
Save and rinse the apple seeds.
Pat them dry with a paper towel.
Day 3: Stratification Process
Place seeds on a damp paper towel, fold it, and put it in a ziplock bag.
Store the bag in the refrigerator for at least 48 hours.
Day 4: Check for Moisture
Ensure the paper towel remains moist but not soggy.
Day 5: Plant the Seeds
Remove seeds from the refrigerator.
Fill pots with potting soil and plant seeds about 1/2 inch deep.
Water lightly and place on a sunny windowsill or under a grow light.
Day 6-7: Provide Proper Care
Keep the soil moist but avoid overwatering.
Maintain consistent temperature and light.
Day 8: Monitor Growth
Look for sprouts emerging from the soil. Be patient if they take longer.
Day 9: Transplanting Preparations
Plan to transplant saplings to larger pots or a garden bed once they are stronger.
Day 10: Enjoy the Progress
Admire the growing saplings and continue providing care.
Additional Tips for Success
Seed Viability: Plant multiple seeds to increase success chances.
Patience: Regular care and patience are key.
Gradual Acclimatization: Acclimate saplings to the outdoor environment gradually when transplanting.
Long-Term Care
Continue consistent care, including pruning, spacing, and pest protection. In a few years, your apple saplings will mature into fruit-bearing trees.
By following these steps, you can enjoy the satisfaction of growing apple saplings from scraps, transforming leftover seeds into thriving trees.


