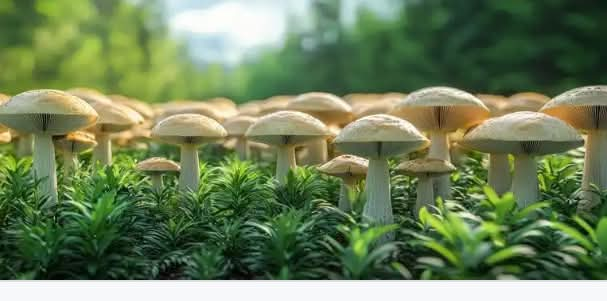
How to Grow Mushrooms in Plastic Bags for Daily Harvest.
How to Grow Mushrooms in Plastic Bags for Daily Harvest.
Benefits of Growing Mushrooms in Plastic Bags:
Efficient Space Use: Compact and stackable.
Humidity Control: Ideal for mushroom growth.
Continuous Harvest: Allows for regular yields with minimal effort.
Steps to Grow Mushrooms in Plastic Bags
1. Gather Your Materials:
Mushroom Spawn: Choose types like oyster, shiitake, or button.
Substrate: Use straw, coffee grounds, or sawdust.
Plastic Bags: Clear, food-grade bags with small holes.
Water: To keep substrate moist.
2. Prepare the Substrate:
Sterilize: Soak straw or sawdust in hot water for about an hour.
Drain and Cool: Allow it to cool and drain until moist.
3. Inoculate with Mushroom Spawn:
Mix: Combine mushroom spawn with the substrate in a clean environment.
Fill Bags: Place the mixture in the bags, leaving space at the top and compacting gently.
4. Create Ventilation:
Poke Holes: Make small holes in the bags for airflow to prevent mold.
5. Store and Monitor Growth:
Placement: Keep bags in a warm, dark space for 2-3 weeks for myceliumc olonization.
Humidity: Mist if bags dry out; maintain high humidity.
Lighting: Move to indirect light once mycelium is visible.
6. Harvest Your Mushrooms:
Mature Mushrooms: Gently twist and pull them when they reach the desired size.
Repeat Harvests: Expect multiple flushes of mushrooms with proper care.
Additional Tips:
Temperature: Keep bags at the ideal temperature (e.g., 60-75°F for oysters).
Sanitation: Use clean hands to prevent contamination.
Hydration: Maintain high humidity, especially during fruiting.


